.webp)
Written by: Anand Sen; Reviewed by: Dr. Yashica M
If you’ve ever noticed your dog stopping mid-zoomie, to frantically scratch their ear like they’re trying to tune into a low-frequency radio signal, congratulations, you’ve witnessed the classic “something is itchy” dance.
Ear issues in dogs are like that one uninvited guest at a wedding who shows up unannounced and is incredibly hard to get rid of. According to the Vet Record Podcast, ear problems are one of the most common reasons dogs end up in the vet’s waiting room.
The "L-Shaped" Airbnb
A dog’s ear canal is shaped like a long "L." It is like a deep, narrow alleyway in Old Delhi that traps moisture, dust, wax, and pollen perfectly. Your dog’s ear is basically the ultimate, all-inclusive Airbnb for microbes. And trust me, once the bacteria and yeast check in, they won’t check out so easily.
The good news? There’s no need to spend half a million dollars on fancy imported bottles to keep those ears fresh. With the help of a few simple kitchen staples and the right technique, you can make a DIY dog ear cleaning solution that would make any Dadi-ma proud.
But wait, I want to throw a statutory warning. Cleaning is just preventive care and not a cure for a full-blown infection. If your dog’s ear smells like a piece of fermented gorgonzola or looks like a muddy monsoon road, put the vinegar down and connect to a professional veterinarian.
The following guide will break down:
- 4 Vet-Safe DIY Recipes: From the basics to the deep clean.
- The Red Flags: Signs that you need to prepare a dog ear cleaning solution.
- Safety First: When a home remedy is a "Go" and when it’s a "No."
- The Pro Method: How to clean your dog’s ears like a high-end groomer
Now, let’s go forward with the most important question
When Is It Safe to Use a Homemade Ear Cleaning Solution?
A DIY home remedy cannot be used for every itchy ear.
As per veterinarians, clean healthy ears and treat diseased ears.
Homemade dog ear cleaning solutions are generally safe if your dog’s ears are dirty but otherwise healthy. Think of them as a canine equivalent of a face wash, not a prescription medication.
Pre-requisite for healthy ears
As per an article published in Veterinary Dermatology, routine ear cleaning allows you to prevent otitis externa, which is inflammation of the external ear canal, one of the most common canine skin diseases.
However, DIY dog ear cleaning solutions should only be used when:
- Your dog’s ears smell normal
- There is no swelling or redness
- There is no pain when touching the ear
- Discharge is light brown wax, not pus-like
- There’s no constant scratching or head shaking
If you see any of these symptoms, skip the home remedy and contact a certified veterinarian. Because once the infection begins, yeast and bacteria multiply rapidly inside the warm ear canal, and the wrong treatment can worsen the condition in no time.
So, homemade dog ear cleaning solutions are best if used for grooming and not as a medical treatment.
5 Signs Your Dog's Ears Need Cleaning
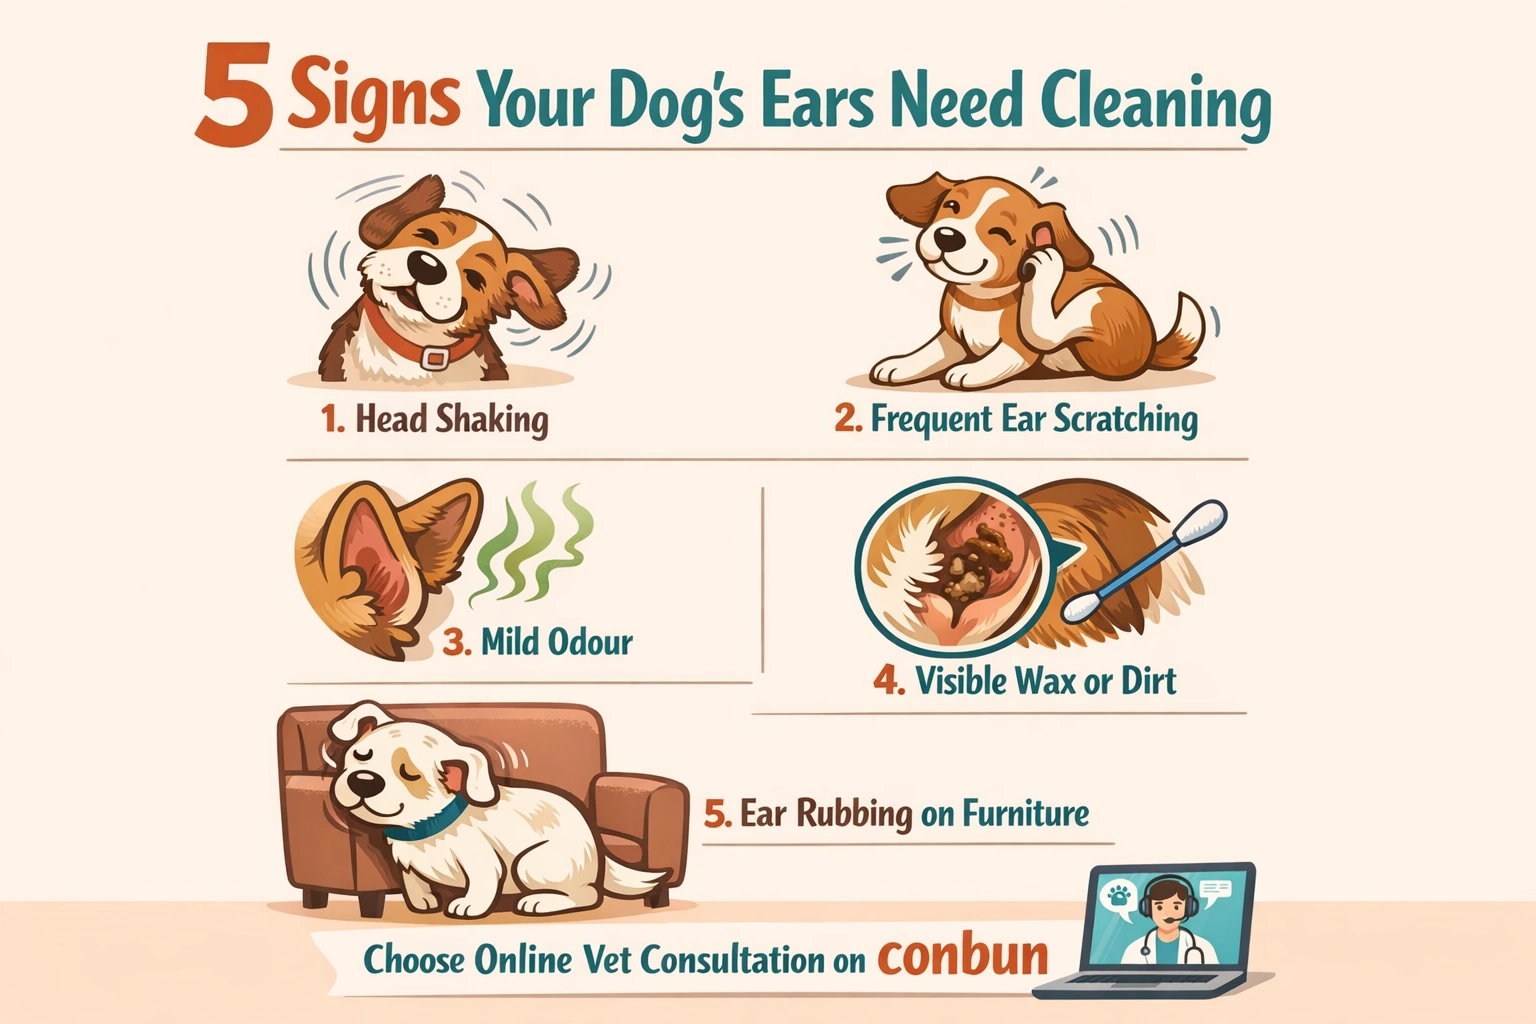
Your dog will never walk up to you and say, “Excuse me, sir, my ear hygiene needs attention.” They have different ways to communicate, though. Dogs display subtle physical signals when their ears become uncomfortable, painful or dirty.
Here are five signs you should watch out for.
1. Head Shaking
Occasional shaking is normal. But if your dog shakes their head constantly like they’re trying to fling water off, even if the ears are dry, it indicates wax buildup or irritation.
Repeated shaking implies that something inside the ear canal feels wrong.
2. Frequent Ear Scratching
Excessive Scatcching = Serious complications
According to the Canine Veterinary Journal, persistent scratching can lead to ear hematomas, painful, blood-filled swelling in the ear flap.
Dogs groom themselves often, but if you notice constant pawing at the ears, it may signal wax accumulation, debris, or early inflammation.
3. Mild Odour
Healthy dog ears smell, well, like nothing.
If there’s a faint yeasty smell, it can indicate wax buildup or early yeast growth. This is especially common in the humid Indian climate.
Regular dog ear cleaning helps you prevent yeast from gaining a foothold.
4. Visible Wax or Dirt
A light brown wax in small amounts is normal. But if there’s visible debris or dark buildup, it’s time for a gentle cleaning session.
Dogs that play outdoors or swim frequently accumulate debris faster.
5. Ear Rubbing on Furniture
Some dogs, to get rid of irritation, will rub their heads against sofas or carpets to scratch their ears.
It may look adorable, but it’s also a sign they want help cleaning those ears. Regular grooming prevents these small irritations from escalating into infections.
4 Homemade Dog Ear Cleaning Solutions
Now that you know when dog ear cleaning is appropriate, let’s talk about vet-safe DIY dog ear cleaning solutions.
These recipes focus on three important goals:
- Loosening wax
- Preventing microbial growth
- Soothing irritated skin
Remember: always use fresh, clean ingredients and sterile containers.
Apple Cider Vinegar Solution
In Dermatology, Apple cider vinegar (ACV) holds its place as a popular natural cleanser because of its mild antibacterial and antifungal properties.
The Cider Kick
“Veterinary dermatology literature notes that diluted acetic acid helps to restore the normal pH of the ear canal, making it harder for yeast and bacteria to grow.”
How to make
Mix:
- 1-part raw apple cider vinegar
- 1-part distilled water
Use only for healthy ears. Never apply if your dog’s ears seem red, painful, or if they have open sores.
Witch Hazel & Aloe Vera Formula
This dog ear cleaning solution is one of the most commonly recommended natural ear cleaners in veterinary grooming circles.
Why it works
As per Healthline Witch hazel acts as a mild natural astringent. Thus, it helps dissolve wax and prevent inflammation.
Aloe vera is added for its soothing properties that help in calming irritated skin. Studies show that aloe compounds contain anti-inflammatory polysaccharides, which make them useful for mild skin irritation.
How to make it
Mix:
- 1 tablespoon witch hazel
- 1 tablespoon pure aloe vera gel
Shake gently before use. This solution can be used for routine ear maintenance in most breeds.
Coconut Oil & Tea Tree Blend
Coconut oil is filled with lauric acid. This compound has mild antimicrobial properties and fights against bacteria and yeast, preventing their growth.
Tea tree oil, if diluted heavily, provides additional antiseptic benefits.
However, and this is important, tea tree oil must always be extremely diluted, as concentrated forms are toxic to dogs.
How to make it
Mix:
- 1 tablespoon melted coconut oil
- 1 drop diluted tea tree oil
This dog ear cleaning solution can be used only for occasional cleaning and is not recommended for daily use.
Distilled Water Rinse
Sometimes the simplest solution can be the best one.
Veterinary literature emphasises that mechanical cleaning alone is enough to remove most debris. A distilled water rinse exceptionally well when ears are simply dusty or dirty after outdoor play.
How to make it
- Sterile distilled water
- Room temperature
This option can be very useful for dogs with sensitive skin or allergies.
Recipe Comparison at a Glance
Here’s a quick overview of when each solution works best.
| Solution | Best For | Key Benefit | SoothinG | Safe for Puppies |
| Witch Hazel + Aloe | Routine cleaning | Reduces wax and soothes skin | Yes | Yes |
| Coconut Oil + Tea Tree | Mild microbial control | Antibacterial properties | Yes | Yes |
| Distilled Water | Sensitive ears | Gentle debris removal | No | Yes |
| Apple Cider Vinegar Solution | Healthy ears | Anti-fungal, anti-bacterial properties | No | No |
All these dog ear cleaning solutions are effective. But the right solutions for your dog depend on their skin sensitivity, lifestyle, and ear type.
Step-by-Step Guide: How to Clean Your Dog's Ears at Home
Before you start cleaning, you have to understand that preparation matters more than technique. Professional groomers often say that successful ear cleaning is about keeping the dog calm.
Dog ear cleaning may sound intimidating until you realise that professional groomers do this hundreds of times a week without drama.
The trick isn’t magic.
It’s patience, preparation and the right technique.
Proper ear cleaning should remove debris without damaging the delicate ear canal lining. As stated earlier, dogs have a sensitive “L-shaped” ear canal. This means aggressive probing may cause injury.
Follow these steps instead.
Tools You'll Need
Before calling your dog over, assemble your ear-cleaning kit.
You’ll need:
- Your chosen dog ear cleaning solution
- Cotton pads or gauze
- A small towel
- Treats (very important)
- Good lighting
Avoid cotton swabs. Veterinary literature warns that cotton swabs can push debris deeper into the ear canal and increase the risk of infection.
1. Prepare Your Solution & Space
Ear cleaning is a part of dog grooming. To groom a dog at home like a pro, go for a calm, quiet space, ideally where your dog already feels relaxed. Place the dog ear cleaning solution within reach and cotton pads ready.
Dogs are good at reading human body language, in fact, better than we realise. If you are approaching them like a nervous dentist, they’ll get to know that something terrible is about to happen.
Instead, act normally. Sit beside them casually as you always do. You can also give a few treats before starting.
This allows them to build a positive association with ear handling.
2. Get Your Dog Comfortable
Gently lift their ear flap and try to look inside.
Healthy dog ears generally appear light pink with minimal wax and no strong odour.
If your dog pulls away immediately or cries when touched, especially near the ear, stop. Pain indicates infection or injury.
If you have a cooperative dog, simply let the good boy sit or lie beside you. For wiggly pups, wrapping them loosely in a towel, also called the burrito style can help you continue with the cleaning sessions in a controlled manner.
3. Apply the Solution
This is the part that feels most dramatic but is actually simple.
Hold your dog’s ear flap upright and gently apply a few drops of the cleaning solution. You have to ensure that the solution is a bit deep into the ear canal.
Don’t worry, you won’t reach the eardrum due to the L-shaped anatomy.
Once you have poured that solution, gently massage the base of the ear for 20-30 seconds.
If you hear a squishy sound, that’s a good sign. It means that the solution is breaking up the wax and debris trapped inside the canal.
4. Let Your Dog Shake, Then Wipe
Once you have poured the solution, your dog will certainly shake their head as they’ve just heard their favourite song.
For you, it may be frantic head shaking, but it actually helps bring loosened debris up the ear canal, making it easier to remove.
Use cotton pads or gauze after the shake to wipe the visible parts of the ear.
Do not try to insert anything deep inside. Clean only what you can easily see.
5. Reward & Monitor
Now comes the most important step: celebration.
Praise, give treats, and maybe indulge in a quick play session. Positive reinforcement will ensure that your dog tolerates future cleaning sessions.
Over the next 24 hours, monitor for:
- Redness
- Excessive scratching
- Discharge
If any of these appear, consult your veterinarian immediately. If you suspect an infection, take an online vet consultation on the Conbun app and get proper tips and medication advice to alleviate the symptoms and prevent them from escalating.
Dangers of Homemade Ear Cleaning Solutions
DIY dog ear cleaning solutions can work well, but only for routine hygiene. They aren’t foolproof.
Veterinarians often warn that improper ear cleaning can worsen underlying problems.
Some potential risks include:
- Over-cleaning may strip off protective oils from the ear canal
- Use of strong or concentrated ingredients can irritate the skin
- Cleaning infected ears without proper medication could lead to worsening of symptoms
Always remember that home cleaning is preventive care, not medical treatment. If you see that the symptoms are worsening, professional veterinary evaluation is always the safest choice.
Breed-Specific Ear Care Tips
Not all dogs are prone to the same ear-related challenges. Breed-specific ear anatomy plays a huge role in infection risk.
Floppy-Eared Breeds
Labradors, Golden Retrievers, and Cocker Spaniels are breeds that have reduced airflow in their ear canals.
This means that moisture gets trapped easily, which makes them prone to yeast infections. These dogs’ benefit from weekly ear checks and regular cleaning.
Hairy Ear Canal Breeds
Poodles and Schnauzers, and long-haired breeds like the Afghan hound, have hair growth inside the ear canal. This traps wax and debris.
Grooming a long-haired breed requires both patience and effort. But regular grooming and occasional ear hair trimming help in preventing this buildup.
Water-Loving Dogs
Retrievers, Spaniels, and other swimming enthusiasts frequently develop ear issues due to increased moisture in their ears.
Always dry their ears with cotton pads after swimming to prevent moisture-related infections.
Signs Your Dog Has an Ear Infection
Ear infections in dogs can escalate quickly if untreated.
Veterinary research estimates up to 20% of dogs develop ear disease like Canine Otitis Externa during their lifetime.
Stop home cleaning immediately if you notice:
- Strong foul odour from the ear
- Yellow, green, or bloody discharge
- Severe redness or swelling
- Constant scratching or head shaking
- Your dog cries when the ear is touched
These are the signs your dog needs a vet immediately. Treating these with DIY dog ear cleaning solutions often delays proper treatment and may even worsen the symptoms leading to severe complications.
The Bottom Line
Cleaning a dog’s ears doesn’t require a veterinary degree. It just requires the right knowledge.
Proper ear hygiene prevents infections, reduces wax buildup, and keeps your dog comfortable.
Homemade solutions like apple cider vinegar rinses, witch hazel blends, and distilled water cleansers can work well for healthy ears.
With routine checks, gentle but frequent cleaning, and a little patience, dog ear care becomes just another part of responsible dog parenting.
And your dog?
They’ll simply appreciate that the mysterious ear itch has finally disappeared.
If you still have questions consider taking an online pet care consultation app and get all your doubts cleared.
Found this guide helpful?
Share it with a friend who had a hard time cleaning their dog’s ears and download Conbun android and iOS to know more such helpful dog parenting hacks.
FAQs (People Also Asked)
1. How often should I clean my dog’s ears?
Answer. For most dogs ear cleaning every 2-4 weeks is enough. However, it depends on breed, lifestyle and ear type. Dogs with floppy ears or those who swim frequently require more frequent ear cleaning.
2. My dog won’t sit still during ear cleaning - What should I do?
Answer. Create a calm environment, offer treats and praise for being calm. If you're having difficulties, practice burrito style for ear cleaning.
3. What kills yeast in a dog’s ear naturally?
Answer. Apple cider vinegar mixed with water to lower PH, coconut oil can be a great anti-fungal remedy to kill yeast in a dog’s ear.
4. Can I use hydrogen peroxide to clean my dog’s ears?
Answer. No. Using any chemicals to clean a dog’s ears can lead to mild to extreme irritation and thus is not recommended.
5. Are homemade solutions as effective as commercial ear cleaners?
Answer. Both can be effective for softening, soothing and removing earwax. But effectiveness depends on the ingredients used.
6. How do I prevent ear infections in the first place?
Answer. To prevent ear infections, practice routine cleaning, regular hair trimming and proper drying after baths or swimming